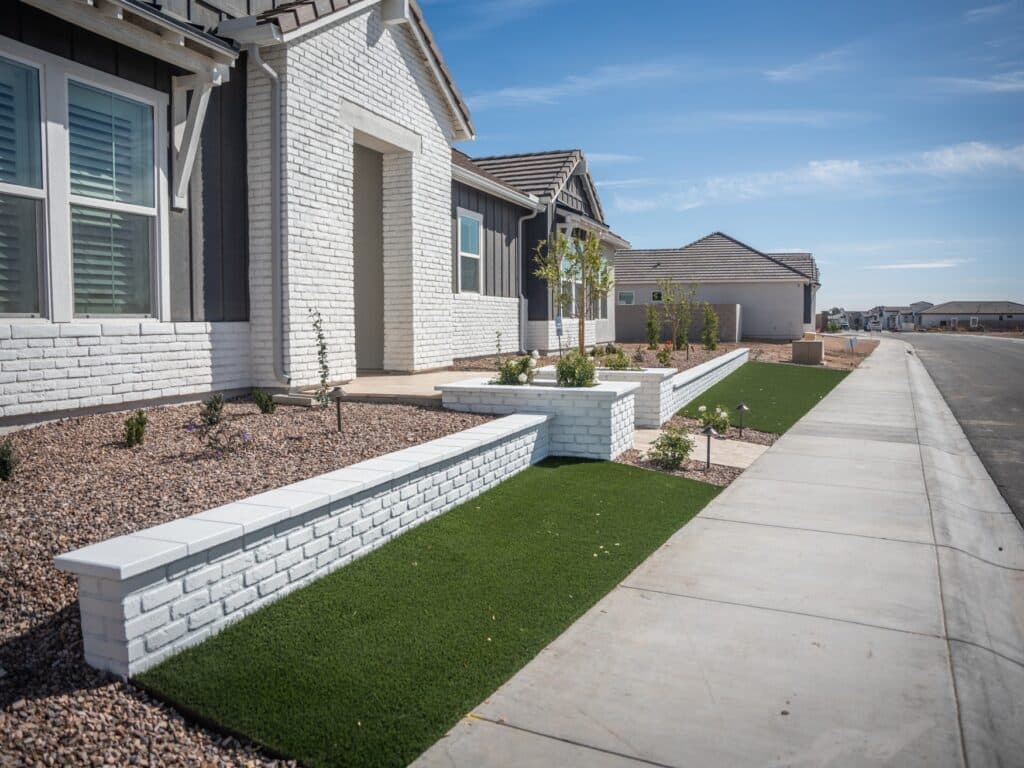
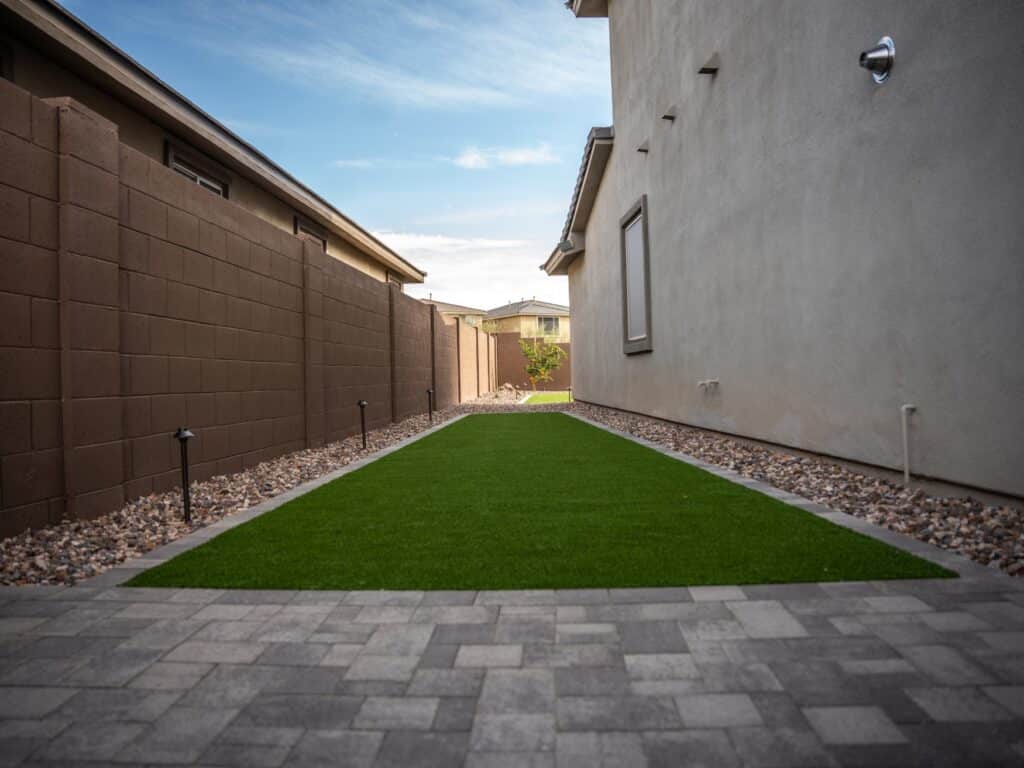
Artificial turf has become a popular solution for homeowners and businesses looking to achieve a lush, green lawn with minimal maintenance. Whether you’re looking to improve your backyard, create a safe play area, or enhance your commercial property, installing artificial turf on dirt is a practical and long-lasting option. This comprehensive guide covers everything you need to know about the installation process, benefits, and why you should choose Rising Tide Landscapes for your project.
Why Choose Artificial Turf?
Artificial turf offers numerous advantages over natural grass:
- Low Maintenance: No mowing, watering, or fertilizing required.
- Durability: Stands up to heavy foot traffic and harsh weather conditions.
- Cost-Effective: Saves money on water bills and lawn maintenance.
- Eco-Friendly: Reduces water usage and eliminates the need for harmful pesticides.
- Consistent Appearance: Provides a green, healthy-looking lawn year-round.
Want to upgrade your outdoor space? Contact Rising Tide Landscapes for expert artificial turf installation services.
Step-by-Step Guide to Installing Artificial Turf on Dirt
Step 1: Planning and Measurement
Begin by measuring the area where you plan to install the turf. Precise measurements ensure you purchase the correct amount of turf and materials.
Need help planning your project? Rising Tide Landscapes offers free consultations to get you started.
Step 2: Clearing the Area
Remove any existing grass, weeds, rocks, and debris. A clean surface is crucial for a smooth installation. Use a shovel or sod cutter for larger areas.
Step 3: Installing a Weed Barrier
Place a high-quality weed barrier fabric over the cleared area to prevent weed growth beneath the turf. This is only applicable if there are no pets involved.
Step 4: Adding the Base Layer
Spread a layer of crushed rock or decomposed granite about 2-4 inches thick. This base ensures proper drainage and provides a stable foundation. Use a plate compactor to flatten and stabilize the base.
Rising Tide Landscapes ensures a properly prepared base for maximum turf longevity. Learn more about our process.
Step 5: Laying the Artificial Turf
Roll out the turf and let it sit for a few hours to eliminate creases. Make sure the turf fibers all face the same direction for a consistent look.
Step 6: Cutting and Securing the Turf
Trim the edges using a sharp utility knife to fit the area precisely. Secure the turf using landscape nails about every 6-8 inches along the edges and seams.
Step 7: Joining Seams
If you have multiple turf pieces, use seam tape and adhesive to join them. Ensure the seams are tight and not visible. This is optional, and not part of our regular process.
Step 8: Adding Infill
Spread silica sand or engineered infill evenly over the turf. Infill helps weigh down the turf, improves durability, and keeps the blades standing upright.
Step 9: Brushing and Final Inspection
Use a power broom to brush the turf fibers and distribute the infill evenly. Inspect the entire area to ensure proper installation and a flawless finish.
Ready to transform your lawn? Schedule your installation with Rising Tide Landscapes today!
Benefits of Professional Installation vs. DIY
DIY Installation:
- Lower upfront cost.
- Requires significant time and effort.
- Risk of improper installation, leading to drainage issues or uneven surfaces.
Professional Installation with Rising Tide Landscapes:
- Expertise: Experienced team ensures precise and efficient installation.
- Quality Materials: We use top-grade turf and materials for lasting results.
- Time-Saving: Quick turnaround without sacrificing quality.
- Warranty: Peace of mind with guaranteed workmanship.
- Proper Drainage Solutions: Prevents water pooling and ensures longevity.
Don’t risk costly mistakes. Trust the professionals at Rising Tide Landscapes for a flawless finish.

Common Mistakes to Avoid
- Skipping the Base Layer: Without a solid base, the turf can become uneven and poorly drained.
- Incorrect Infill Application: Using too little or the wrong type of infill can affect the turf’s durability.
- Ignoring Seams: Poorly joined seams can be unsightly and reduce the lifespan of the turf.
- Not Securing the Edges: Loose edges can cause the turf to shift or become a tripping hazard.
- Poor Drainage Planning: Improper drainage can lead to water accumulation and damage.
Avoid these mistakes by hiring Rising Tide Landscapes for professional installation.
Why Choose Rising Tide Landscapes?
✅ Experienced Team: Years of experience in landscaping and artificial turf installation.
✅ High-Quality Materials: We use premium turf products for a realistic look and feel.
✅ Customer Satisfaction: Our priority is delivering exceptional results and service.
✅ Competitive Pricing: Affordable solutions without compromising on quality.
✅ Comprehensive Services: From planning to installation, we handle it all.
See why clients trust Rising Tide Landscapes. Contact us for a free estimate!
FAQs About Installing Artificial Turf on Dirt
Q1: How long does artificial turf last?
A: High-quality turf can last 15-20 years with proper installation and maintenance.
Q2: Can I install artificial turf over existing grass?
A: Absolutely not. It’s not recommended. Removing the grass ensures a stable base and prevents future issues.
Q3: How do I clean my artificial turf?
A: Regularly rinse with water and brush to remove debris. For spills, mild soap and water work well.
Q4: Is artificial turf safe for pets and children?
A: Yes, our turf products are non-toxic and safe for both pets and children.
Q5: Does artificial turf get hot in the sun?
A: Yes, artificial turf can get hot, especially in the Arizona sun. Our TigerTurf with TigerCool Tech has UV inhibitors to help reduce heat, but while lighter-colored infill may help a little, it won’t fully prevent it.
Have more questions? Reach out to our team at Rising Tide Landscapes for expert advice.
Tips for Maintaining Your Artificial Turf

- Regular Brushing: Keeps the blades upright and looking natural.
- Rinse Debris: Hose down the turf to remove dust, pollen, and pet waste.
- Monitor Infill Levels: Replenish infill as needed to maintain turf performance.
- Inspect Seams and Edges: Regular checks help catch and fix any issues early.
Final Thoughts
Installing artificial turf on dirt is a smart investment that enhances the beauty and functionality of your outdoor spaces. While DIY options exist, professional installation ensures a durable, long-lasting, and visually appealing result. With the right preparation and expertise, you can enjoy a maintenance-free lawn that adds value to your property.
Transform your outdoor space with confidence. Contact Rising Tide Landscapes today for top-quality artificial turf installation services!
